Somewhere between unboxing a new iPhone and actually using it, most Mac owners hit the same wall: how to get everything across (photos, contacts, entire music libraries) without losing anything. Apple has built several ways to connect these two devices, and depending on the software version installed on each, they behave slightly differently.
Cables work well, wireless syncing works too, and iCloud tries to manage both quietly in the background, mostly succeeding without asking for any input at all.
There is no single “correct” method. Each of the three methods below has worked for me on different occasions, and you can even combine them depending on what you need to sync.
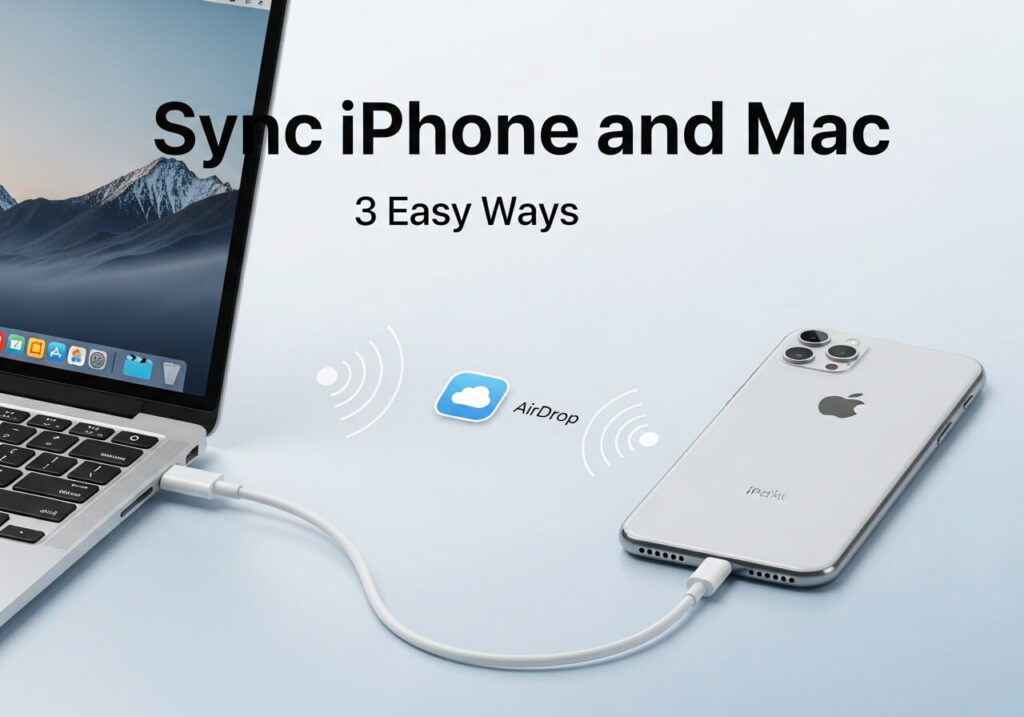
Table of Contents
1. Plug in your iPhone and let Finder do the heavy lifting
A wired connection is still the fastest way to move a full library of photos, music, or files between an iPhone and a Mac. Connect the phone with a USB-C or Lightning cable, open Finder, and select the iPhone from the sidebar. Tabs there will let you choose what to sync.
I used to skip this and rely only on iCloud, thinking a cable was outdated. Then I tried backing up four years of photos on hotel Wi-Fi before a work trip and watched the progress bar barely move for two hours. Now, a cable is the first thing I reach for whenever I need to move a large batch of files at once. The whole process finishes in minutes and does not depend on a signal.
Running a dedicated Mac cleaner tool, like the MacKeeper app, before and after a major sync is a habit you should build to keep your Mac running smoothly. MacKeeper clears out junk files, duplicate downloads, and leftover app data that build up over months of normal use.
This means any data transfer has room to land without triggering a “disk almost full” warning halfway through. A Mac with breathing room handles a multi-gigabyte photo import far more smoothly than one running close to capacity.
2. Sync wirelessly through Wi-Fi
For day-to-day use, iCloud handles syncing on its own. Once enabled for Photos, Contacts, and Calendars in System Settings on the Mac and Settings on the iPhone, changes made on either device appear on the other within seconds, provided both are on the same Wi-Fi network.
For instance, take a photo on the iPhone, and it shows up in the Photos app on the Mac shortly after, without requiring you to connect any cables.
This method suits ongoing use rather than a single large transfer. It keeps a Mac’s Photos library, address book, and notes in sync with what’s on the iPhone at all times, which matters most for anyone switching between devices throughout the day.
The tradeoff is storage. Apple gives 5GB free, and most photo libraries outgrow that within weeks, so you may need a paid iCloud+ tier if you have a larger library.
3. Consider syncing through AirDrop for quick, one-off transfers
Sometimes a full sync is overkill. Sending a handful of photos, a PDF, or a single video from an iPhone to a Mac takes seconds through AirDrop. Both devices need Wi-Fi and Bluetooth turned on and to be near each other; then the receiving Mac needs to be discoverable in Finder’s AirDrop window and set to accept from everyone or only contacts.
Airdrop is one of the fastest ways to sync your two Apple devices for anything under a few gigabytes, and it requires no setup beyond the first time both devices agree to see each other.
When does sync get stuck?
Every so often, Finder may show the iPhone, but nothing updates, or iCloud Photos may still spin without finishing. The usual fix is to check that both devices are running the latest software, since a version mismatch between iOS and macOS can quietly block certain syncing features.
I ran into this exact issue after a macOS update pushed weeks ahead of the matching iOS release. Photos would not finish syncing, no matter how many times I restarted the Mac, until I checked Settings on the phone and found an update sitting there, unapplied, for over a week.
Updating both devices to compatible versions solved it in under ten minutes. A quick restart of both devices, after any update, is usually enough to unstick a sync that refuses to move.
Managing storage after syncing
Every sync adds data to the MacBook. Videos transferred from an iPhone are often large files, and backups compound over time if old ones are not removed. These few habits will help prevent storage from becoming a problem:
- Delete duplicate photos after importing. The Photos app tends to import duplicates when the same images have been synced before
- Use Image Capture to delete photos directly from the iPhone. Do it after confirming they transferred successfully, rather than leaving two copies across both devices
MacKeeper’s Duplicate Finder is useful here, too. After a large photo import, it scans the Photos library and identifies identical or near-duplicate images, making it easy to remove redundant files without manually reviewing thousands of images.
Conclusion
Syncing an iPhone and Mac doesn’t mean picking one method and sticking with it forever. A cable handles large one-time transfers at speeds that a wireless connection cannot match. iCloud covers daily updates without manual effort. AirDrop handles the small, occasional handoff.
Each has a clear use case, and you can use any of them depending on what you want synced and how much of it there is. The part that catches people out is storage. Files and photos accumulate on the Mac faster, and a full disk quietly breaks background syncing.
Keeping your Mac clean removes that bottleneck and keeps transfers running without interruption. So, set up the sync method that fits the workflow, stay on top of storage, and syncing your iPhone with your Mac stops being something to think about at all.