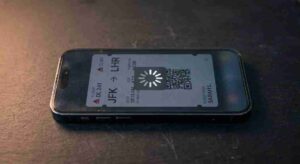
I wanted to create better Instagram Reels for my personal page. My goal was to attract more views and give people a reason to keep watching instead of scrolling past.
The problem was how much time the process took. Even a short video needed an idea, a script, suitable visuals, narration, captions, and editing. Doing everything manually made each Reel a bigger project than I wanted it to be.
I started using VideoGen and have been happy with it. What appeals to me is not simply generating a video automatically. It is having a more manageable way to develop an idea, review a draft, and change the parts that need work.
In this guide, I’ll explain my approach to using an AI video generator for Instagram Reels, with smartphone-tip videos as the example. To make the process easy to follow, I’ll use an illustrative beginner project: a Reel about checking your phone’s camera lens before changing camera settings.
This example is a walkthrough, not a claim that I measured a particular improvement in photo quality or Instagram performance.
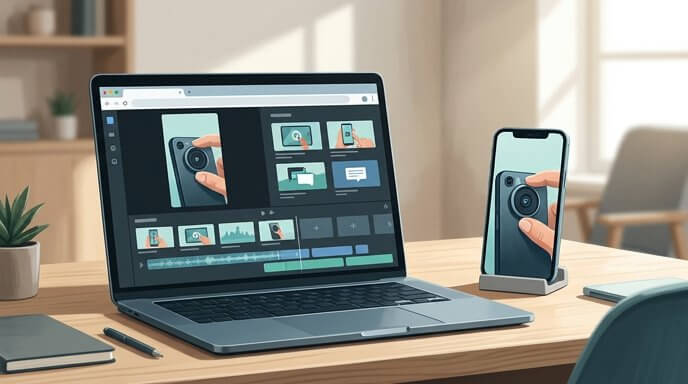
Table of Contents
Why I Wanted a Different Way to Create Reels
My motivation was straightforward: I wanted to spend less time assembling videos and more time developing ideas worth sharing.
The manual process involved several separate jobs:
- Choosing a topic and deciding how to explain it.
- Writing and shortening the script.
- Recording or finding suitable visuals.
- Preparing narration.
- Matching the visuals to the explanation.
- Adding captions and checking the finished video.
None of those tasks disappears just because AI is involved. However, bringing parts of the process into one editable project gives me a different starting point.
Instead of treating the first draft as the finished product, I approach it as something to improve. The point is to make revision more manageable, not to remove my judgment from the process.
What Kind of Reel Should You Make First?
Before opening an editor, decide what viewers should get from your video.
“After watching this Reel, the viewer should be able to ______.”
If you cannot finish that sentence clearly, the idea probably needs narrowing.
“Take better smartphone photos” is a broad topic. “Check your camera lens before changing settings” is a more manageable first project.
| Video idea | What to show | What to prepare |
|---|---|---|
| A smartphone setting | Where the setting is and what it does | A verified screen recording |
| A camera tip | The technique and an example result | Original footage and sample photos |
| A phone accessory demonstration | The accessory being used | Clear shots of the actual product |
| A troubleshooting tip | The problem, the steps, and the outcome | A demonstration on the relevant device |
These are starting options, not guaranteed high-performing formats. Choose something you understand and can demonstrate yourself.
For a beginner, my suggestion is to start with one useful tip rather than several unrelated ideas. That gives you fewer scenes to manage and a clearer explanation to write.
Choose Footage That Actually Explains the Tip
A video can look polished without explaining much. I want the visuals to help viewers understand what the narration is saying.
Use Screen Recordings for On-Screen Instructions
If you are explaining a setting, record the relevant steps on your actual phone. Mention the phone model and software version when the instructions depend on them.
Before recording:
- Hide notifications and personal information.
- Prepare the relevant app or settings page.
- Verify the instructions on your device.
- Review the recording before uploading it.
Do not present a menu path from one device as though it applies to every Android phone or iPhone.
Use Original Footage for Physical Demonstrations
For the camera-lens example, suitable footage would include a close-up of the camera area, the cleaning action, and any genuine comparison images you capture.
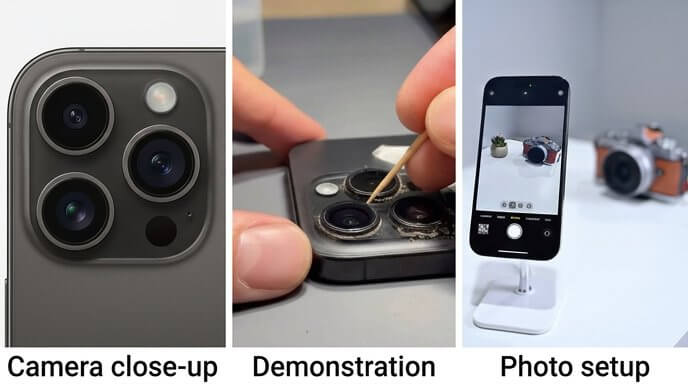
If you demonstrate cleaning, follow the device manufacturer’s care instructions. Keep any before-and-after comparison honest and explain the conditions rather than implying the action solves every photography problem.
Use Supporting Visuals for Context
A supporting image can introduce the subject or illustrate an explanation. It should not replace evidence of what a phone actually does.
My rule is simple: real footage demonstrates the feature; supporting visuals help explain the story.
How I Approach Engaging Video Hooks
A hook is the opening combination of words, visuals, and sound that gives viewers a reason to continue watching.
For my scripts, I treat the opening as a small promise: here is the problem, and here is what the video will help explain.
Start With the Problem
Compare these two openings:
“Hi everyone, welcome back. Today I’m going to share a smartphone photography tip.”
“Blurry phone photos? Check this before changing your camera settings.”
The second gets to the subject sooner. It also makes a limited promise: a check to try, not a guaranteed solution.
For your first script, remove the greeting and introductory explanation temporarily. Ask whether the video becomes clearer without them.
Make the Benefit Specific
“Here’s a useful phone tip” leaves the subject vague. “Here’s where to check which apps are using your storage” tells viewers what they will learn.
Only promise what the video demonstrates. If the instructions apply to a particular device, make that limitation clear.
Give the Opening a Visual Job
For the camera-tip example, the first shot could show the lens while the narration introduces the check. Another option is a genuine comparison you recorded.
The opening visual should establish the subject, not simply add movement. Never use a generated “after” image as though it were a real camera result.
Use Curiosity Without Becoming Misleading
A question such as “When did you last check your camera lens?” leads naturally into a demonstration.
“Your phone has a secret nobody wants you to know” creates a much bigger promise than a simple tip can deliver.
I would rather make the usefulness clear than make an ordinary subject sound artificially mysterious.
Draft More Than One Opening
For the same Reel, you could try:
- “Blurry phone photos? Start with this simple check.”
- “When did you last check your camera lens?”
- “Before changing settings, check your lens.”
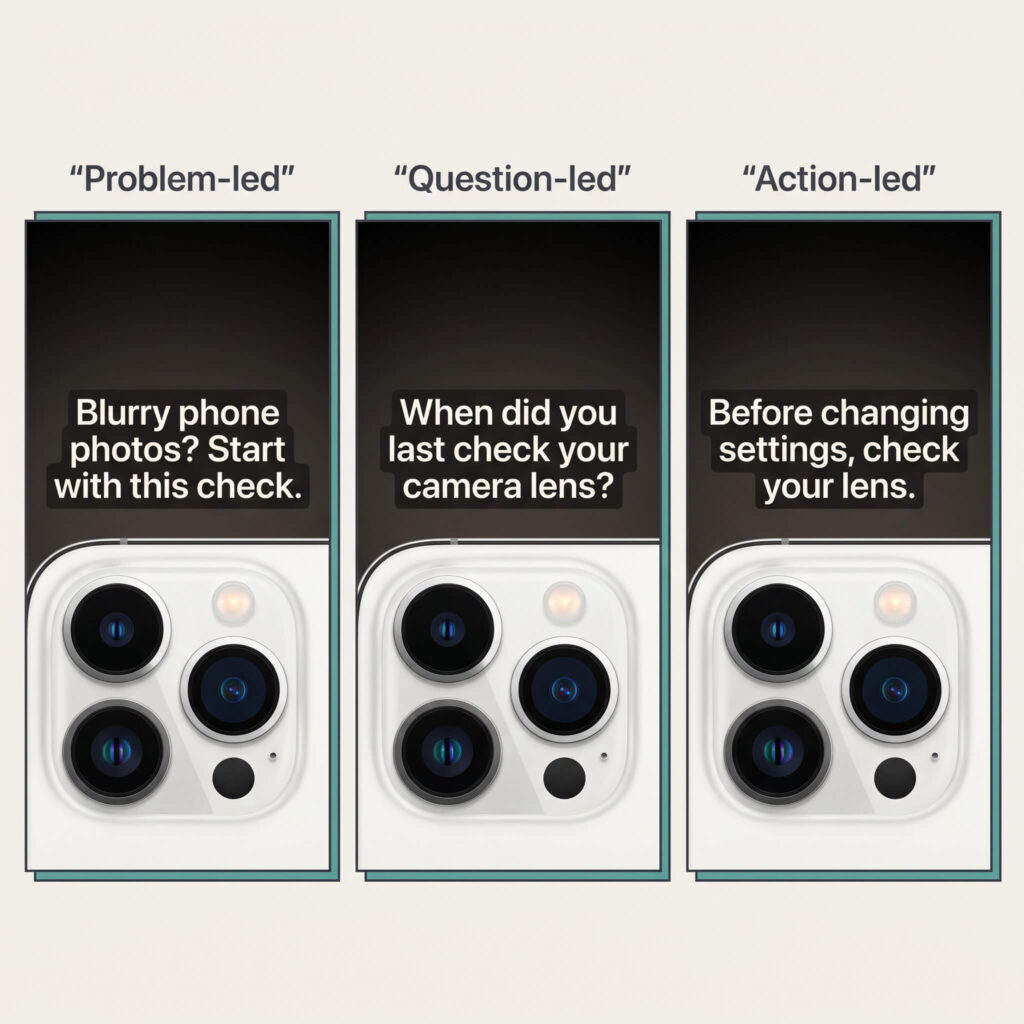
These are alternatives to explore, not proven winners. Start with two versions and keep the main demonstration similar so you can clearly describe what changed.
Most importantly, deliver what the hook promises. Once the opening introduces the check, show it rather than adding a long introduction.
How I Use an AI Video Generator for Instagram Reels
Part of the appeal of VideoGen’s AI video generator is having several production tasks in one online workflow.
For creators who need motion shots or reference-guided scenes, Seedance can be used through VideoGen as part of a larger video workflow. It can help turn prompts or supported reference media into clips that sit beside narration, captions, music, and other footage. A generated shot may work as an opening, a transition, a product detail, or a visual explanation.
For a beginner, that provides a starting point instead of an empty editing project. You can work from a script and then assess what the draft needs.
However, easy to start does not mean ready to publish. You still need to check the explanation, choose appropriate footage, and review the output.
Browser-based also does not automatically mean equally comfortable on every device. If you want to edit entirely on a smartphone, test the controls, file uploads, and export process on that phone first.
My Step-by-Step Approach to Building a Reel
The most important part of this approach is iteration: improving the video in manageable stages instead of expecting the first draft to be perfect.
1. Write a Short Script Around One Outcome
I prefer to begin with what I want to explain rather than asking the tool to invent the entire topic.
For our illustrative camera-tip Reel, a starting script could be:
“Before changing your camera settings, check the lens.
Clean it according to your phone’s care instructions, then take another photo.
Compare the result before assuming you need a different camera mode. This will not solve every photo problem, but it is a simple check to include in your routine.”
The structure is straightforward: introduce the issue, demonstrate an action, and explain the limitation.
Read your script aloud before generating the video. Rewrite anything that feels awkward and remove sentences that repeat the same point.
2. Match the Script to Planned Visuals
A small planning table helps identify the footage you need.
| Script section | Planned visual |
|---|---|
| Introduce the lens check | Close-up of the phone’s camera area |
| Demonstrate the action | Original footage following the device’s care guidance |
| Discuss the result | Genuine comparison images, if available |
| Explain the limitation | A simple closing shot and brief caption |
For an on-screen tutorial, each instruction should correspond to the actual menu or action being demonstrated.
3. Generate the First Draft
Enter your script, review the options available in your account, and create the initial video.
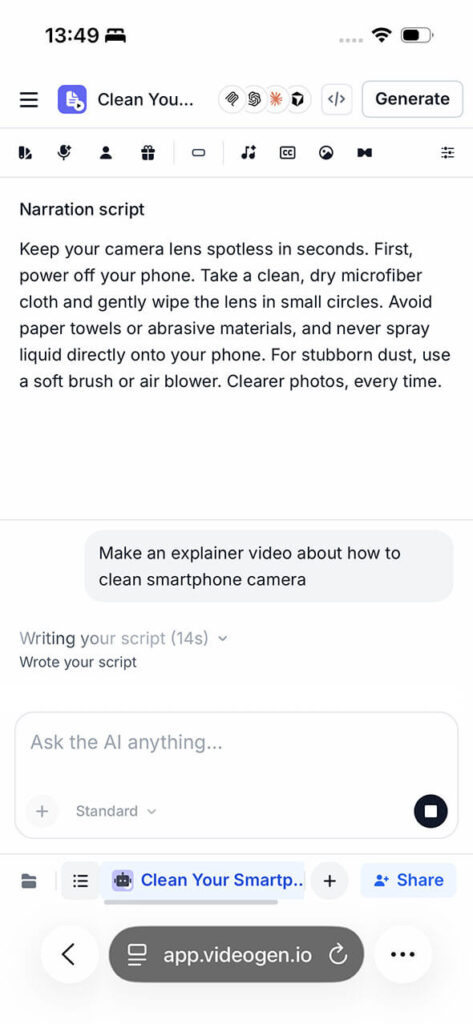
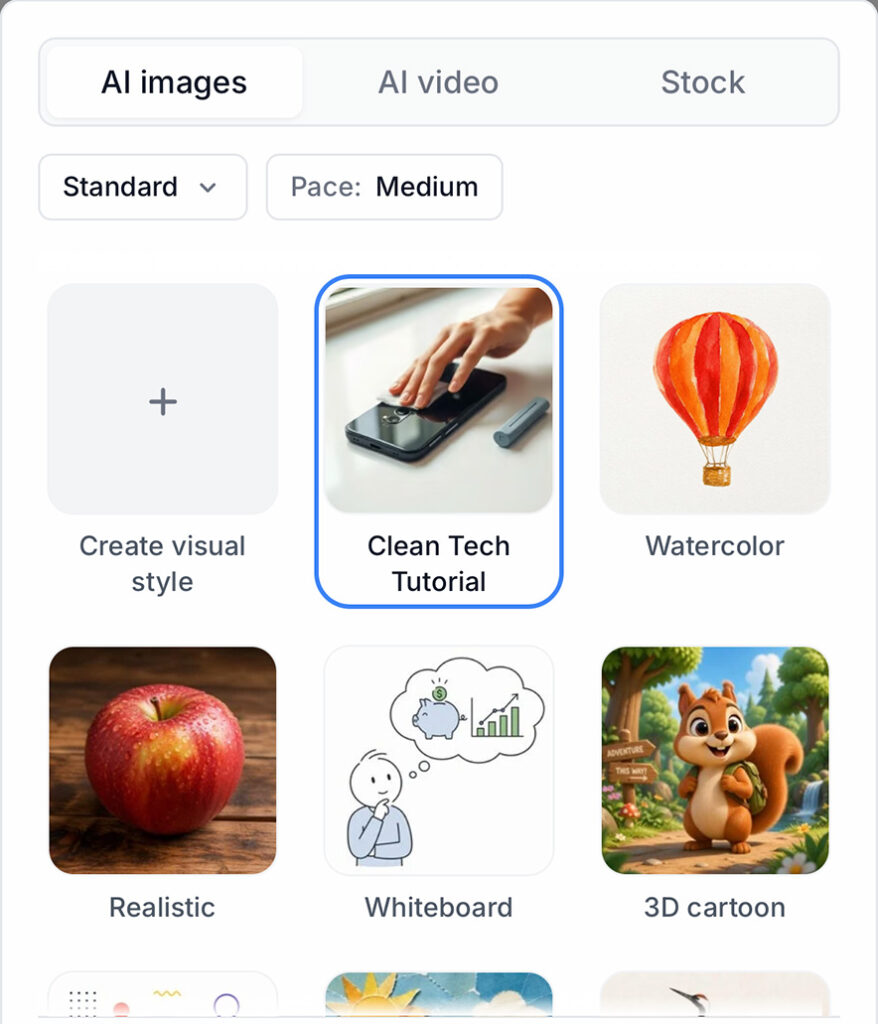
After generating the script, I reviewed the visual options. For this example, I selected “Clean Tech Tutorial” under “AI images.” This screenshot shows the style-selection stage, rather than original footage recorded on my phone.
For a first project, keep your choices manageable:
- Start with one script.
- Choose narration that suits the topic.
- Use a consistent text style.
- Review the draft before exploring lots of alternatives.
Check which features and export options your account includes. Do not assume every advertised option is available on every plan.
4. Replace Anything That Does Not Fit
This is where the draft becomes a more deliberate explanation.
Review each scene and ask:
- Does this match the narration?
- Does it show the relevant phone or action?
- Does it explain something useful?
- Could it create the wrong impression?
A generic phone clip might introduce the subject, but it cannot demonstrate a specific settings menu. Add your own recordings wherever the instructions depend on seeing the real action.
5. Review the Voiceover and Captions
Listen for awkward wording and incorrect pronunciation, especially with device names and technical terms.
Then check the captions:
- Do they match the spoken words?
- Are feature names correct?
- Can you read them on your phone?
- Do they obscure important details?
- Is there enough time to follow each instruction?
Automatic captions are a starting point, not a reason to skip proofreading.
6. Preview the Exported Video
Watch the exported version, not just the editor preview.
Watch once with sound and once without. Check that the explanation remains understandable, important details are visible, and no personal information appears in the footage.
Then preview the Reel in Instagram before publishing.
Improve Individual Parts Without Rebuilding the Whole Video
A creator may want to test a new hook, shorten a long explanation, generate an additional visual, change the narration, or create captions without rebuilding every component manually.
That flexibility is a central reason an editable AI workflow interests me. This browser based app provides editable sections, media, narration, and captions, so the first output does not have to remain fixed.
| What needs work | A focused revision |
|---|---|
| The opening is vague | Replace it with the specific problem |
| The explanation repeats itself | Remove or rewrite a sentence |
| A scene is unclear | Add an original recording or explanatory visual |
| The narration sounds awkward | Revise the wording and regenerate the relevant audio |
| The captions contain errors | Correct the text and review its timing |
Changing one part still requires a review. Revised narration may affect pacing, while a replacement visual may need different timing.
The benefit is being able to focus on the weak section rather than treating every correction as a completely new production.
How I Approach Generated Visuals for Difficult Ideas
Not every smartphone topic is easy to film. You can record a settings menu directly, but an explanation of cloud backup or background app activity may need a conceptual illustration.
This is where I would consider generated visuals: as a way to support an explanation, not replace a real demonstration.
Possible examples include:
- An illustration of files moving between a phone and cloud storage.
- A visual metaphor for limited storage space.
- A conceptual scene accompanying an explanation of background activity.
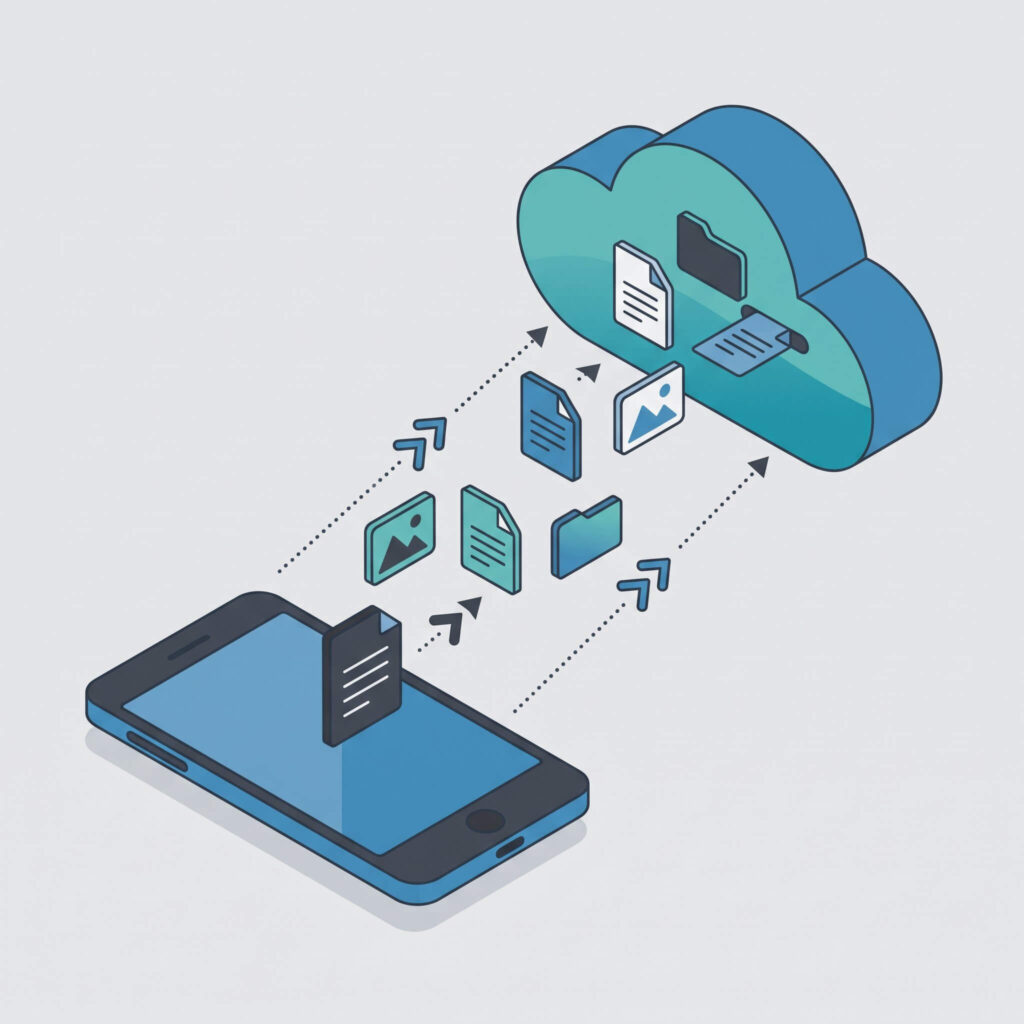
Keep the distinction clear. A generated animation does not establish how a phone performs, and it should not be presented as a real camera sample, interface recording, or speed test.
Ask yourself: “Is this explaining an idea, or could someone mistake it for evidence?” Label conceptual visuals when needed.
Create Multiple Versions From One Core Video
Once the main explanation is in place, you can plan variations around the same core material.
| Version | What changes | What stays |
|---|---|---|
| Original | Initial opening and explanation | The verified demonstration |
| Alternative hook | First sentence and opening shot | Main instructions |
| Shorter edit | Remove secondary explanation | Essential action and outcome |
| Revised narration | Different wording or delivery | Core footage and subject |
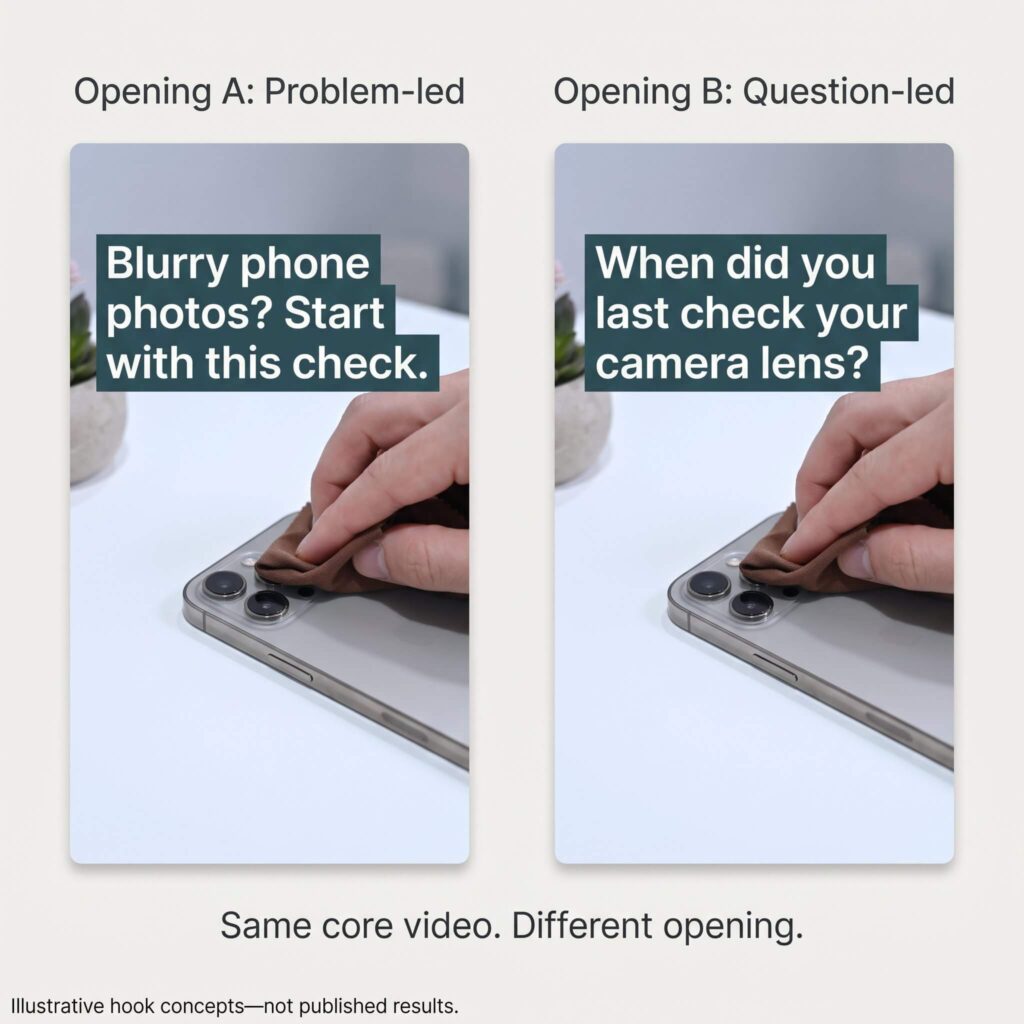
For a beginner, I suggest making the original and one alternative first. Verify how your editor saves copies or versions before making substantial changes.
If you publish both, do not assume the opening alone caused any performance difference. Different posting conditions and audiences make this an imperfect comparison.
How Beginner-Friendly Is an AI Video Editor?
What appeals to me is the ability to begin with words and develop the video from there. A structured draft can make the process feel more approachable than assembling everything individually.
However, a beginner still needs to decide whether the tip is accurate, the script is understandable, the visuals fit, and the final result is worth publishing.
My suggestion is to learn through one small project. Finish it, identify the most difficult step, and improve that part next time. You do not need to explore every feature before creating something useful.
Pros of Using an AI Video Editor
- A structured first draft. Script-based generation provides an initial arrangement of visuals, narration, captions, and music.
- More manageable revisions. Editable sections let you concentrate on selected parts of the project.
- An alternative to recording every line yourself. Generated narration can help when you prefer not to record your own voice.
- A starting point for captions. Automatic transcription can reduce manual preparation, provided you check it.
- Additional visual options. Generated imagery can support ideas that are difficult to demonstrate directly.
- A reusable project structure. The core explanation can become a starting point for alternative openings or shorter edits.
Cons and Limitations of Using an AI Video Editor
- The first draft still needs judgment. An assembled video is not automatically accurate or useful.
- Visuals can create the wrong impression. Generated material must remain distinct from real demonstrations.
- Narration and captions require checking. Review pronunciation, wording, readability, and timing.
- There is still a learning process. Selecting scenes and refining the explanation remain editing tasks.
- Costs and account limits matter. Check current plan details before building a workflow around particular features.
- Mobile usability needs testing. A browser-based editor should not be assumed to work equally well on every device.
- Faster production does not guarantee more views. Workflow efficiency and audience response are separate outcomes.
What About Views and Audience Retention?
More views and better retention were part of my motivation for trying a different process. However, being happy with the workflow is not the same as proving Instagram growth.
I separate three questions:
- Is creating the Reel more manageable?
- Does the finished video explain the idea clearly?
- Do viewers respond differently after publication?
The first two can be assessed during production. The third needs actual performance data.
I am not presenting measured retention gains or a verified increase in views here. The useful takeaway is a process for creating and revising videos—not a promise about how Instagram will distribute them.
My Advice for Your First Reel
Choose one smartphone tip you understand. Prepare the footage that demonstrates it, write a short explanation, and build one complete video before attempting a more complicated format.
Use AI where it helps with drafting, assembly, narration, captions, and alternatives. Keep responsibility for accuracy and the final decision to publish.
That is the balance I want for my personal page: less time rebuilding production elements and more attention on whether the video gives someone a useful reason to watch.